How Do I Create a Form?
Forms in Goliath let you capture seller leads, schedule property tours, and collect contact information directly from your website or landing pages. Every form submission automatically creates or updates a contact record in your CRM, and you can trigger automated follow-up workflows based on form responses.
Step-by-Step Guide
Section titled “Step-by-Step Guide”-
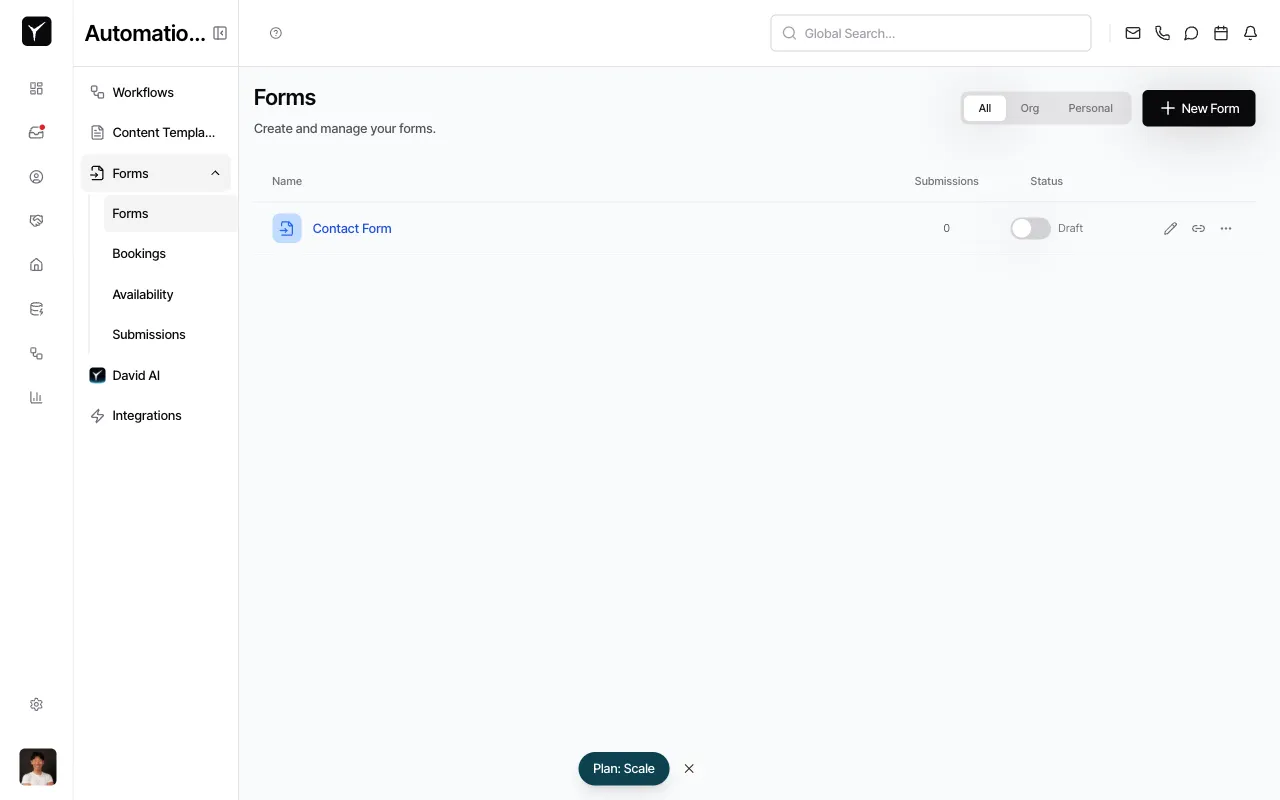
Navigate to the Forms page and click New Form
From the left sidebar, click Forms, then click the New Form button in the top-right corner to open the form creation dialog.
-
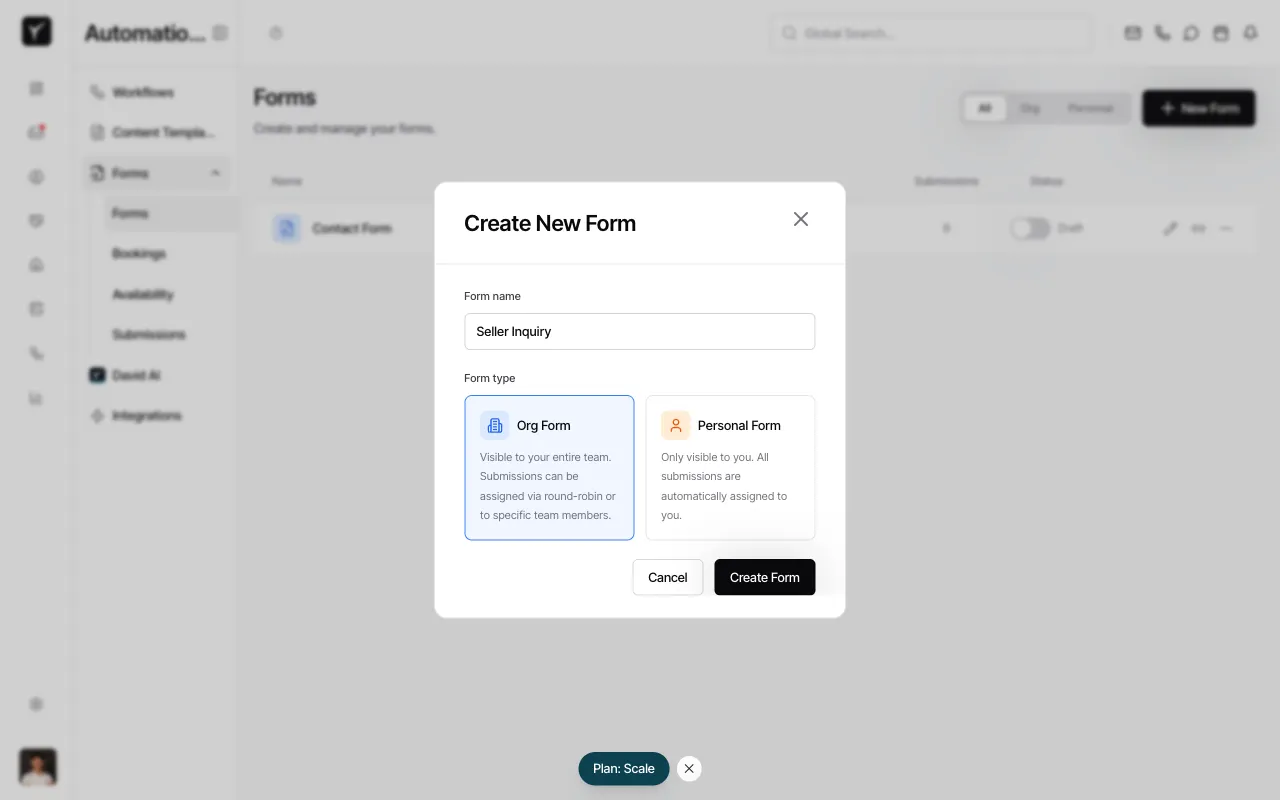
Enter a form name and choose the form type
Type a descriptive name for your form. Then choose between Org Form (visible to your entire team, supports round-robin lead distribution) or Personal Form (private to you, all leads auto-assigned to your account). Click Create Form to proceed.

-
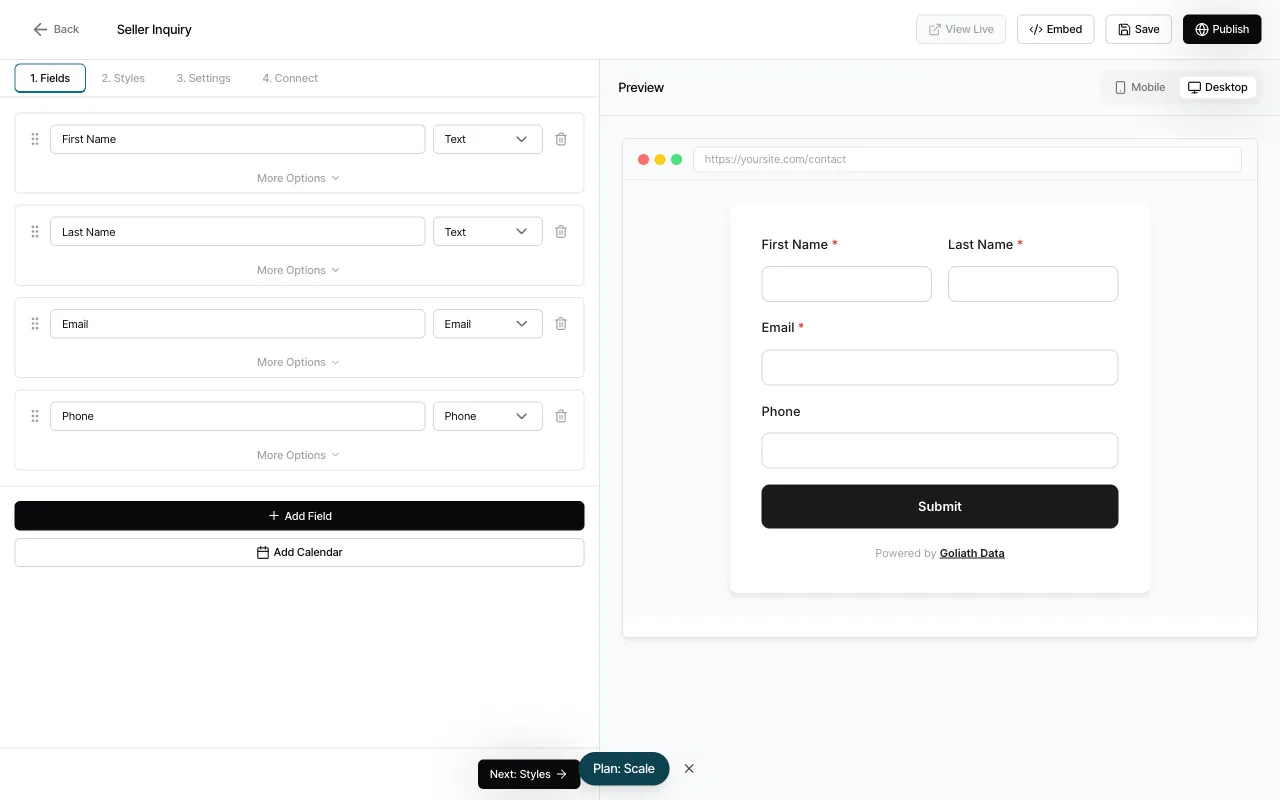
Review the default fields
Goliath automatically adds four starter fields: First Name, Last Name, Email, and Phone. You can reorder fields by dragging, click any field to configure options, or delete fields you don’t need. Click More Options to access advanced settings like validation rules and field width.
-
Add additional fields (optional)
Click the Add Field button at the bottom of the field list to open the field catalog. Choose from field types like text, dropdown, checkbox, textarea, address, number, dollar, or multiselect. To enable booking/scheduling, click Add Calendar to insert a calendar picker field.
-
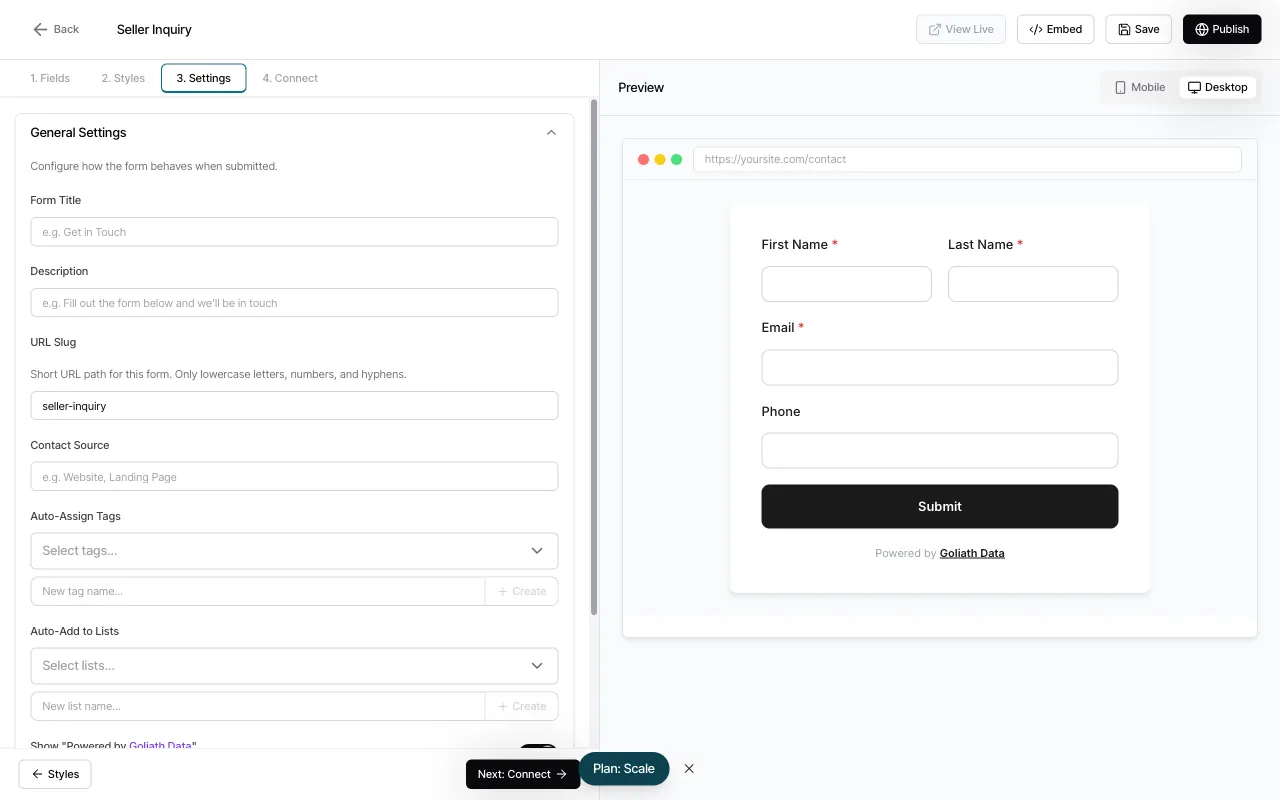
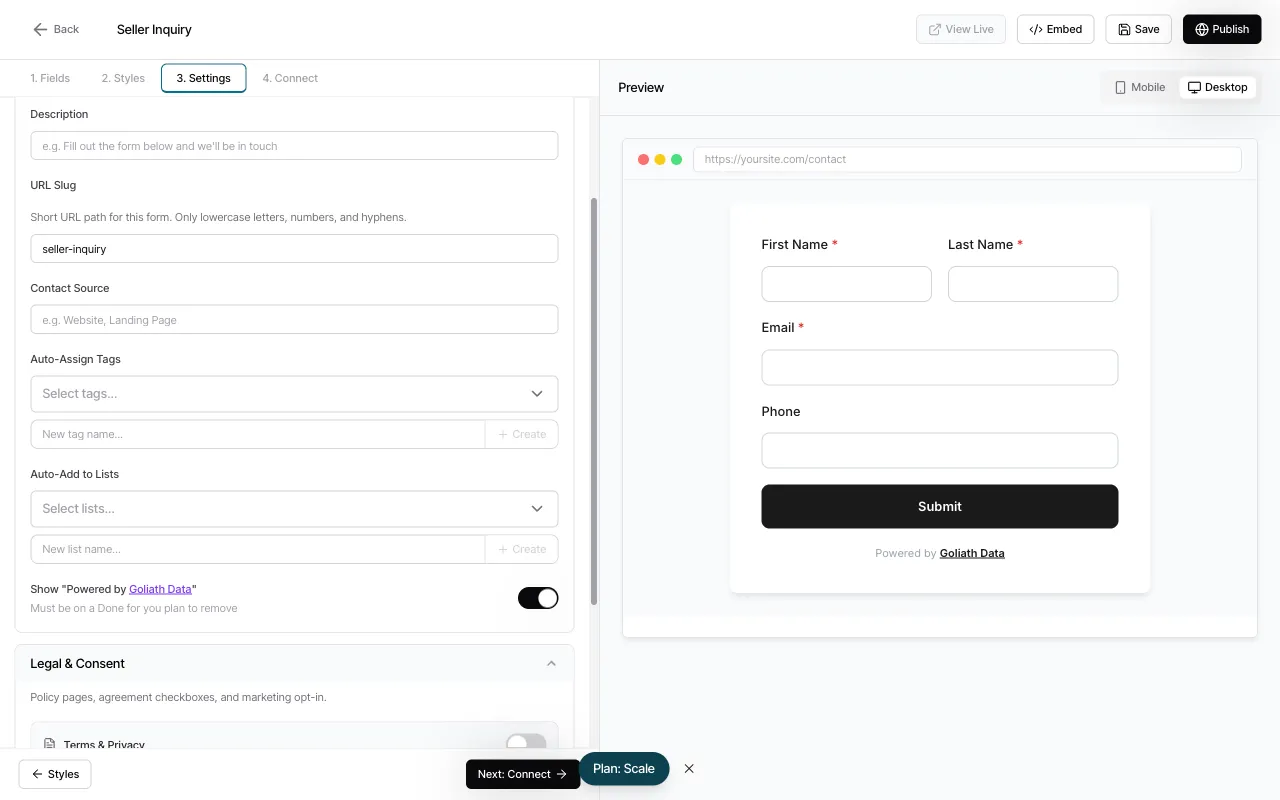
Configure general settings
Click the 3. Settings tab at the top. In the General Settings section, add a Form Title and Description that contacts will see. Customize the URL Slug (used in the hosted form link), set a Contact Source label, and optionally auto-assign tags or add contacts to lists upon submission.

-
Set up Legal & Consent options
Scroll down to the Legal & Consent section in the Settings tab. This is critical for compliance if you’re collecting phone numbers. Toggle on Terms & Privacy to add a Terms of Service checkbox and Privacy Policy link. Enable Marketing Consent to include TCPA-compliant disclosure text (required for SMS/call outreach). Goliath provides default templates you can customize.
-
Customize the form’s appearance
Click the 2. Styles tab to access theming options. Choose a pre-built theme (Light, Dark, Bold, Soft, Professional, Nature) or customize the Primary Color, Typography, Layout, Input Fields, Labels, and Button Style. The Preview panel on the right updates in real-time as you make changes.
-
Preview and publish your form
Use the Preview panel to test the form on Mobile and Desktop views. When you’re satisfied, click Save to store your changes, then click Publish to make the form live. You can now click Embed to get the embed code or View Live to see the hosted version.
Frequently Asked Questions
Section titled “Frequently Asked Questions”Q: What happens if someone submits the form with a phone number that already exists in my CRM?
Section titled “Q: What happens if someone submits the form with a phone number that already exists in my CRM?”Goliath detects the existing contact and merges the new submission data into the existing record instead of creating a duplicate.
Q: Can I add a file upload field to my form?
Section titled “Q: Can I add a file upload field to my form?”File upload fields are not currently supported, but you can collect documents via follow-up workflows after the initial form submission.
Q: Do forms work on mobile devices?
Section titled “Q: Do forms work on mobile devices?”Yes. All Goliath forms are fully responsive and optimized for mobile, tablet, and desktop browsers.
Q: How do I distribute my form to potential leads?
Section titled “Q: How do I distribute my form to potential leads?”Check out the How Do I Embed a Form guide to learn how to add your form to a website, share the hosted link, or embed it in email campaigns.
Q: Can I track which form generated a lead?
Section titled “Q: Can I track which form generated a lead?”Yes. Each form submission includes metadata about the source form, and you can view submission history in the Submissions panel under the Forms section.