How Do I Save a Filter?
Saved filters let you preserve complex property searches for instant reuse. Once you’ve applied filters—like a specific state, MLS status, or property type—you can save that combination as either an Individual filter (visible only to you) or a Team filter (shared with your entire team). Saved filters appear in the left sidebar and apply all criteria in one click, making them ideal for recurring workflows like weekly check-ins on tax delinquent properties or pre-foreclosures in a target market.
Step-by-Step Guide
Section titled “Step-by-Step Guide”-
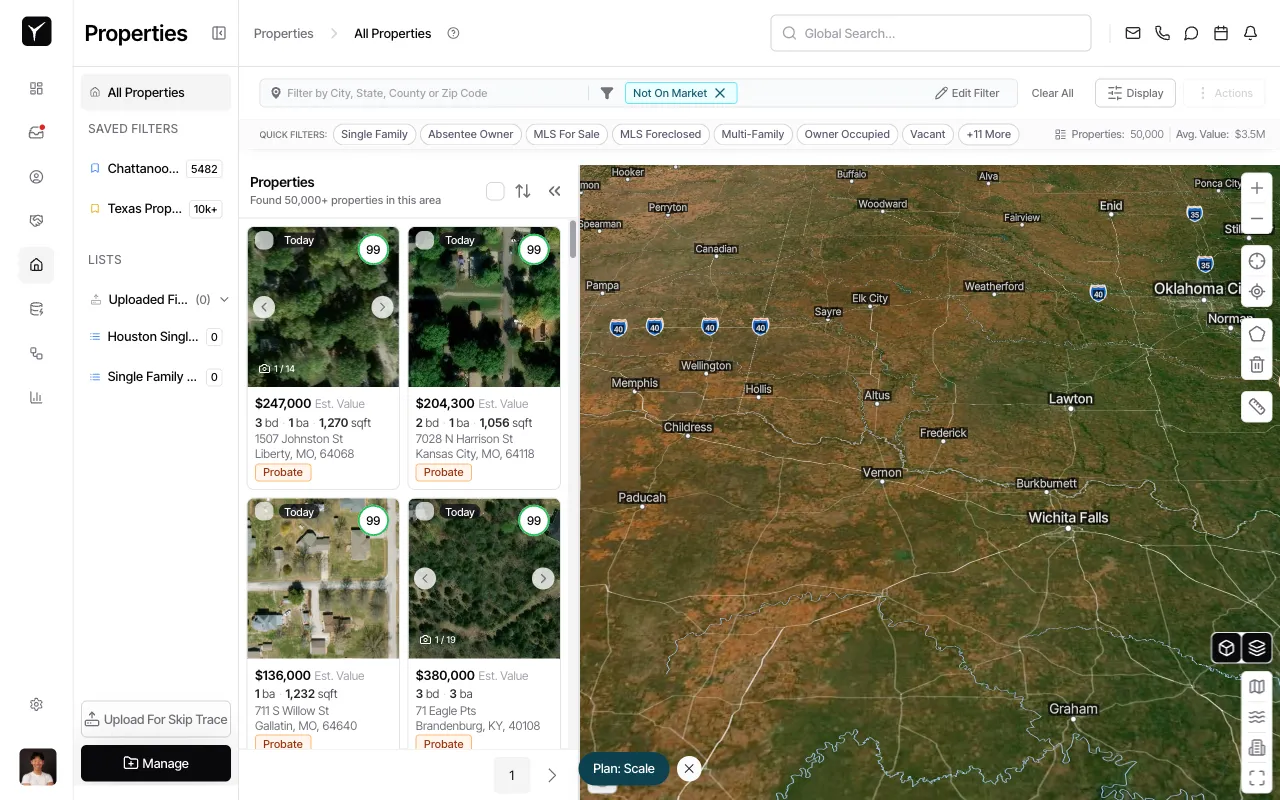
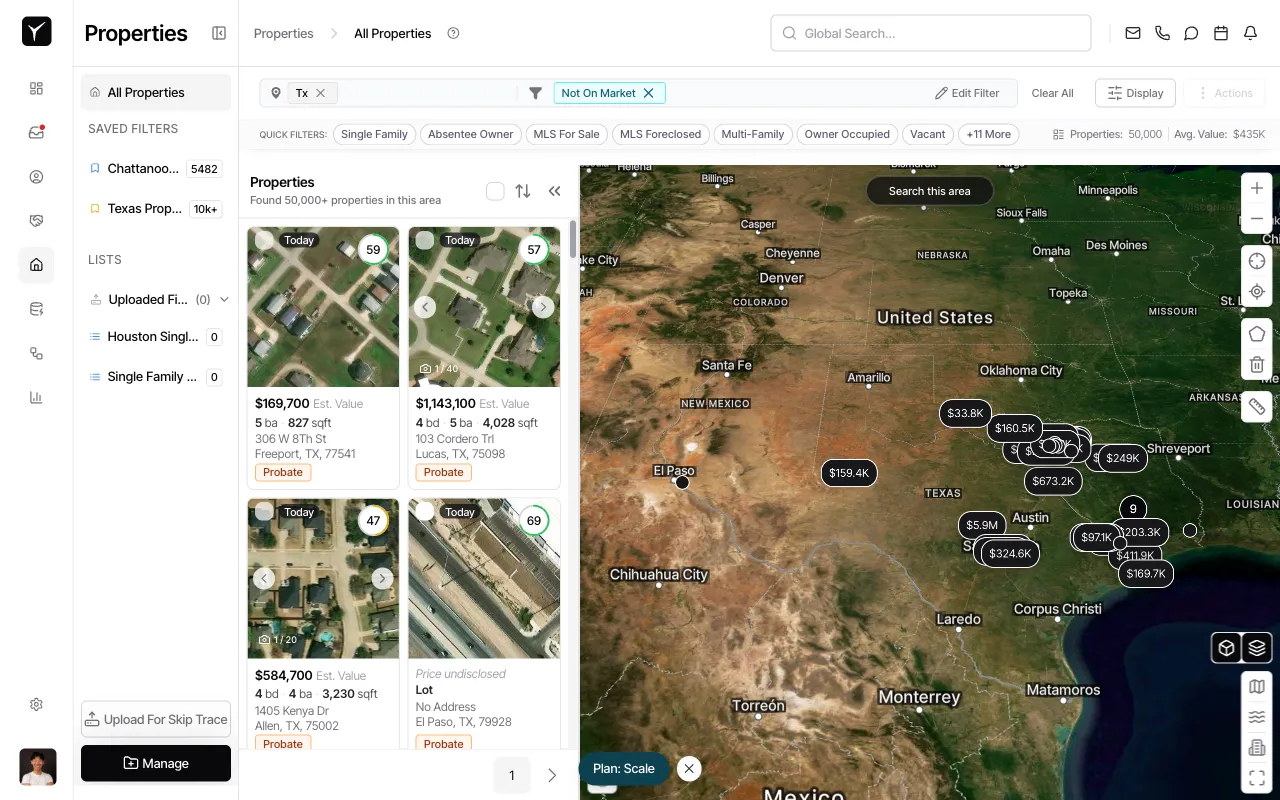
Apply at least one filter to your property search
Start from the All Properties page. The Save Filter button activates only after you’ve applied one or more filters. In this example, we’re filtering by MLS status.
-
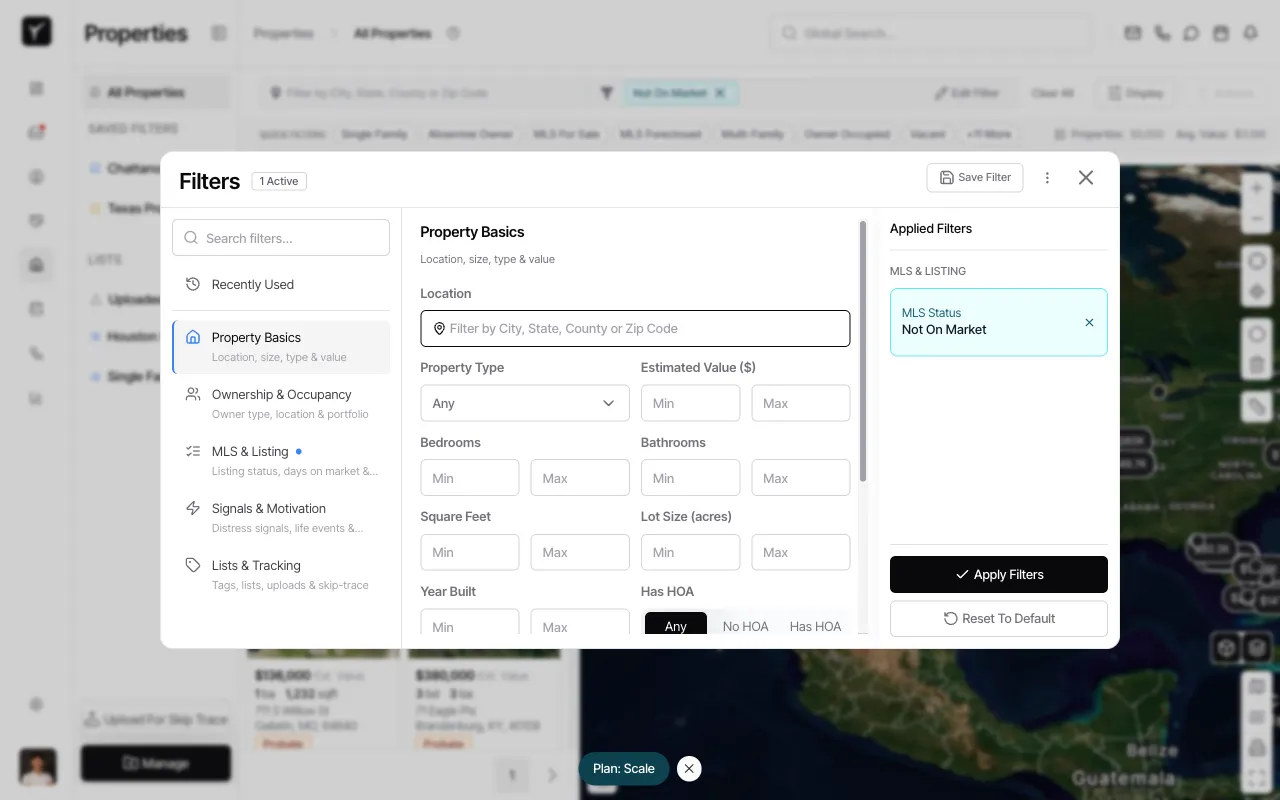
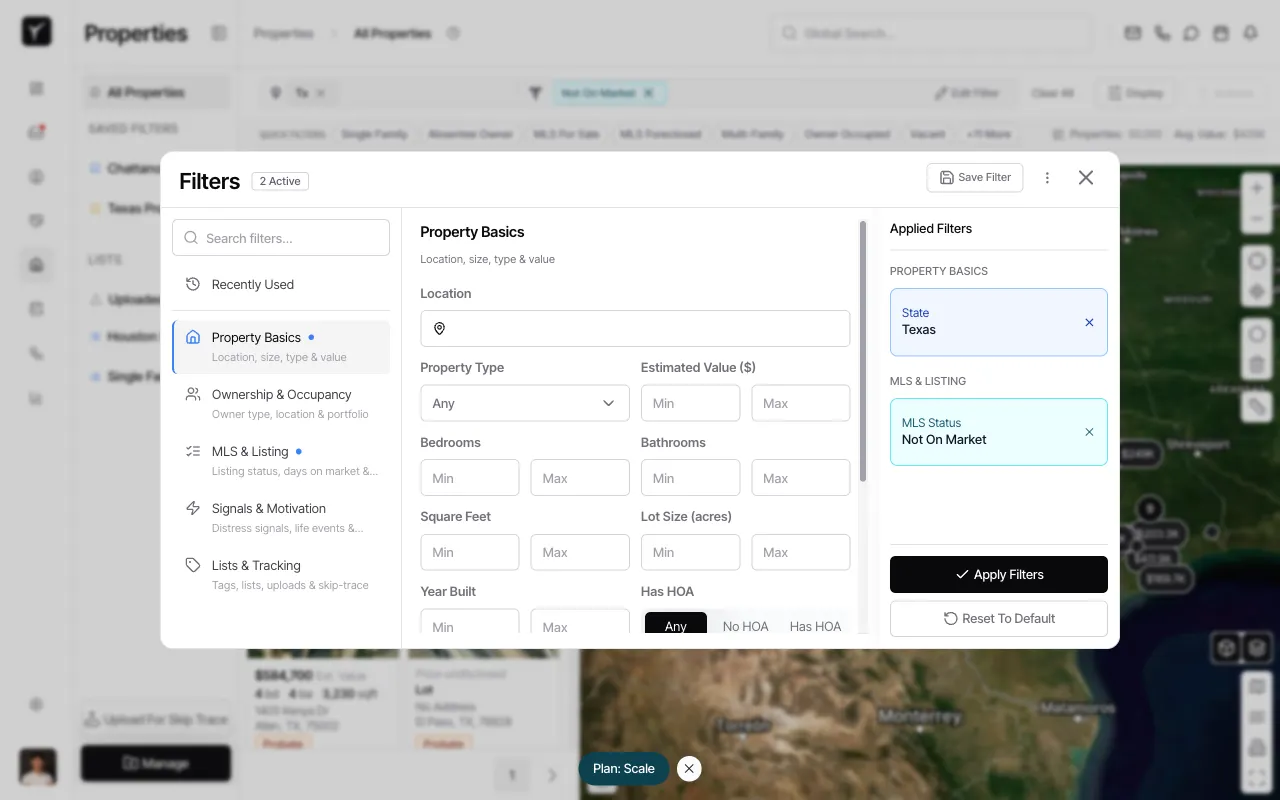
Open the Filters panel
Click the filter icon or Edit Filter button to open the Filters panel. You’ll see the Applied Filters section on the right showing your active criteria.

-
Add or adjust filters as needed
Use the left sidebar to navigate filter categories like Property Basics, MLS & Listing, or Signals & Motivation. Select or enter your criteria—for example, filtering by a specific state.
-
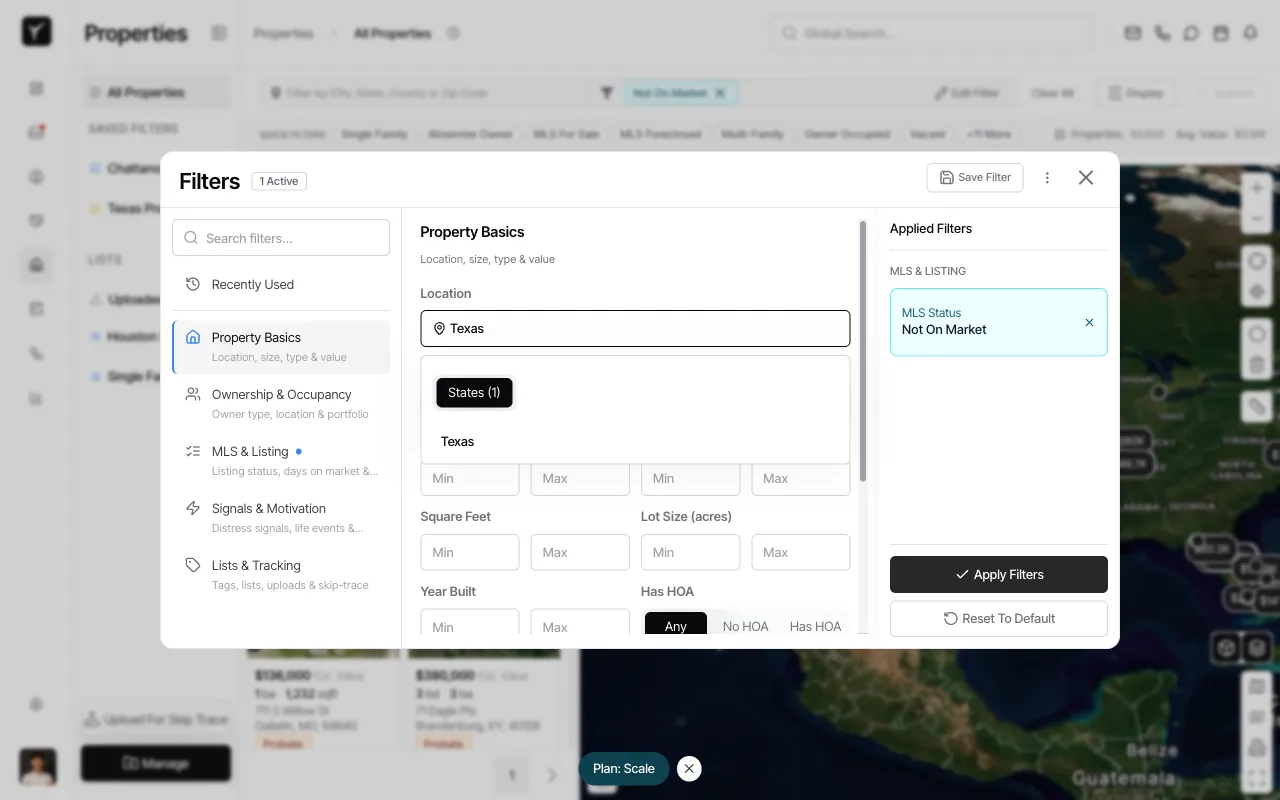
Enter your location or other filter values
Type or select values for each filter. In this example, we’re entering a state name in the Location field under Property Basics.
-
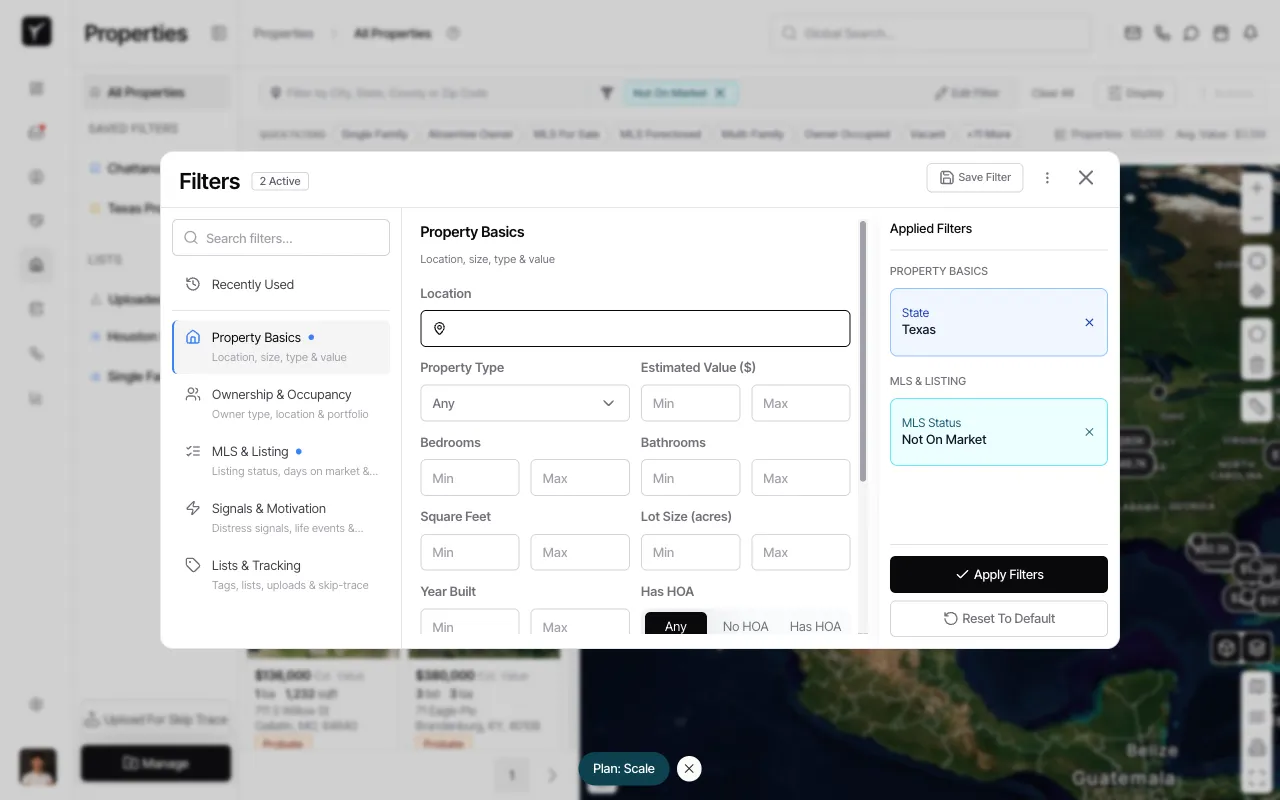
Confirm your filter combination
Review the Applied Filters panel to ensure all criteria are correct. You should see multiple active filters grouped by category (e.g., PROPERTY BASICS, MLS & LISTING).
-
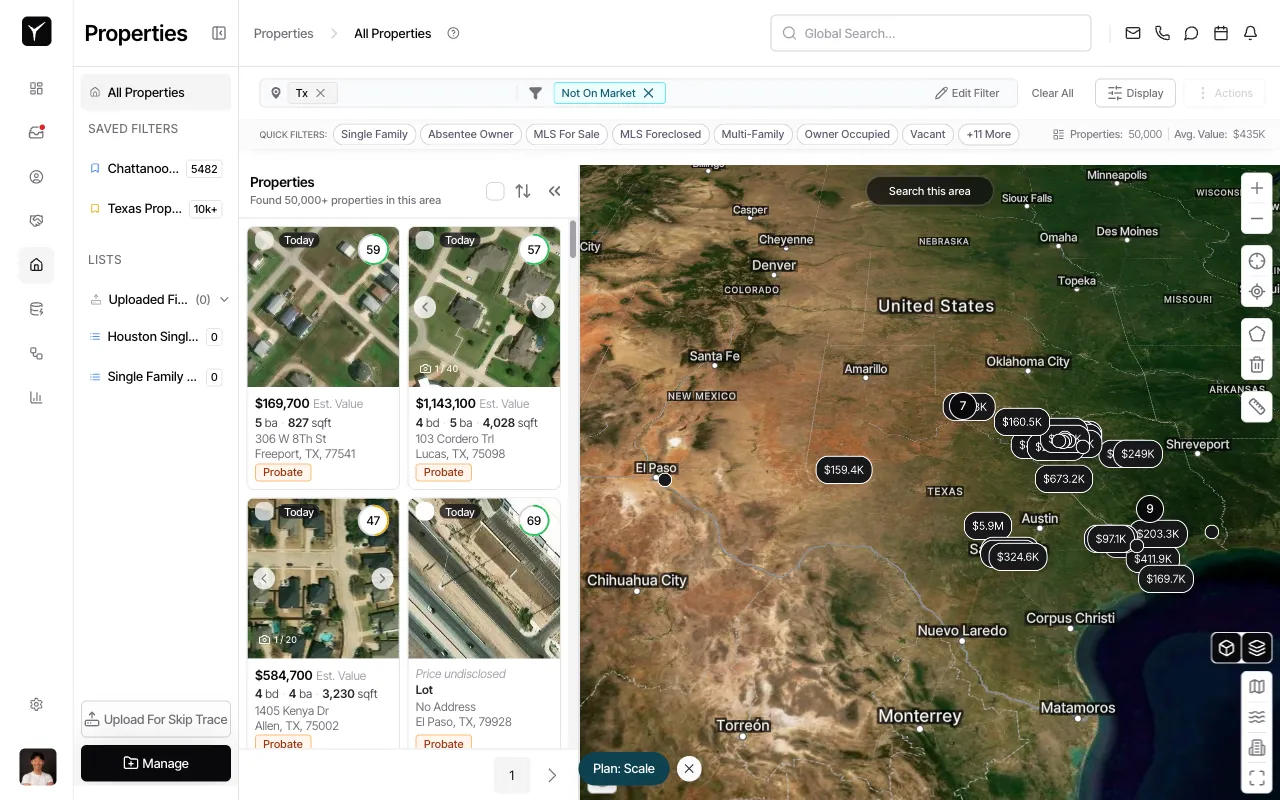
Apply the filters to your property list
Click Apply Filters to refresh the property results. The map and list will update to show only properties matching your criteria.
-
Verify the results
Confirm that the properties displayed match your filter settings. You’ll see updated property cards and map markers reflecting the active filters.
-
Open the Save Filter dialog
Click the Save Filter button in the top-right corner of the Filters panel. This opens the Save Filter dialog.
-
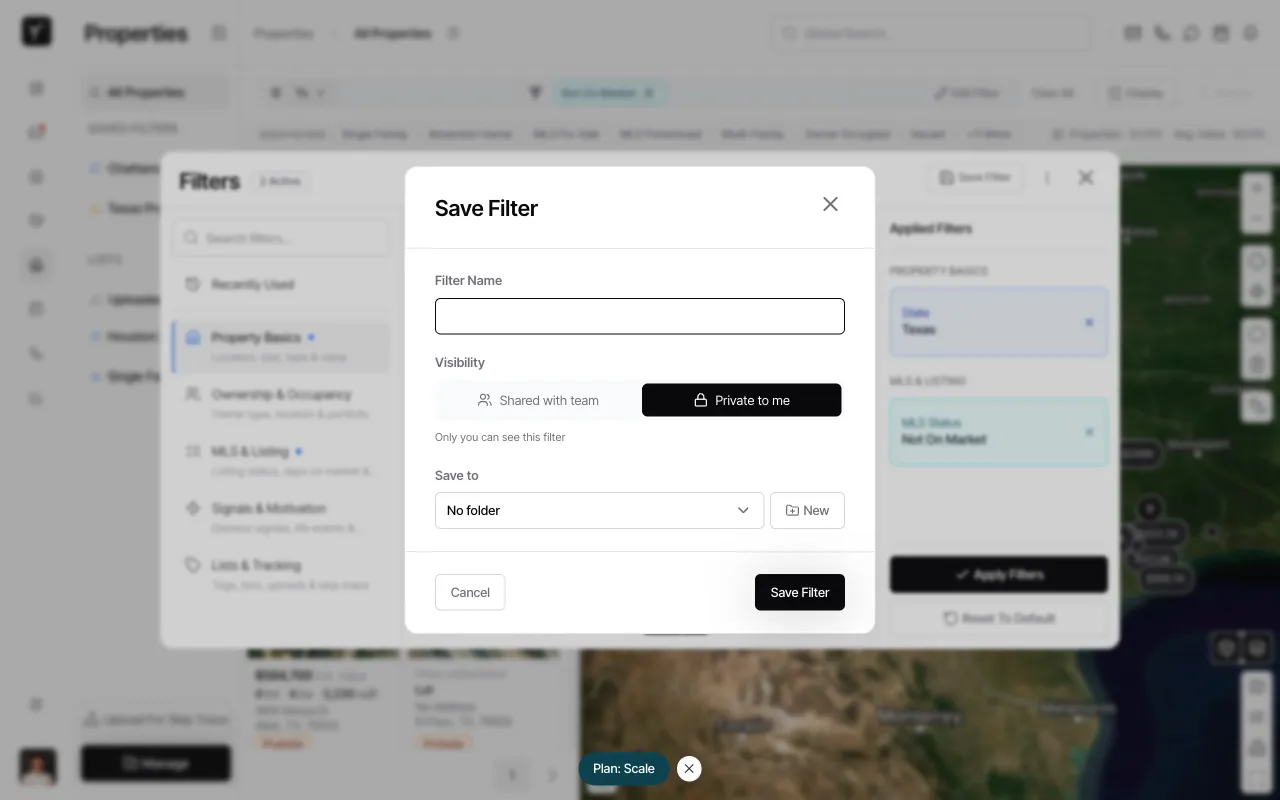
Name your filter and choose visibility
Enter a descriptive Filter Name (e.g., “Texas Off-Market Properties”). Under Visibility, choose Private to me (Individual) or Shared with team (Team). Individual filters are visible only to you; Team filters appear in every team member’s sidebar. Optionally, assign the filter to a folder using the Save to dropdown. Click Save Filter to finish.
Frequently Asked Questions
Section titled “Frequently Asked Questions”Q: Can I edit a saved filter after creating it?
Section titled “Q: Can I edit a saved filter after creating it?”Yes. Click the saved filter in the sidebar to apply it, then click Edit Filter to open the Filters panel and adjust criteria. Click Save Filter again (using the same name) to update it.
Q: What happens if I delete a saved filter?
Section titled “Q: What happens if I delete a saved filter?”Deleting a saved filter removes it from your sidebar (and from all team members’ sidebars if it was a Team filter). It does not delete any underlying property data or affect existing lists.
Q: Can I save filters with multiple categories of criteria?
Section titled “Q: Can I save filters with multiple categories of criteria?”Absolutely. You can combine filters from Property Basics, Ownership & Occupancy, MLS & Listing, Signals & Motivation, and Lists & Tracking into a single saved filter—Goliath preserves the entire combination.
Q: When should I use Individual vs. Team visibility?
Section titled “Q: When should I use Individual vs. Team visibility?”Use Individual (Private to me) for personal prospecting lists or experimental searches you’re still refining. Use Team (Shared with team) for standardized workflows, SOP-driven searches, or filters that support collaborative deal sourcing.