How Do I Send a Bulk Text?
Bulk texting in Goliath is powered by workflows, not a standalone “send to all” button. You create a workflow with a Send Text action (optionally using a template with personalized variables), publish it, then trigger it on a selected group of contacts. This approach ensures every message is personalized, compliant with carrier regulations, and logged for audit trails.
Prerequisites
Section titled “Prerequisites”Before you send a bulk text, make sure:
- A2P 10DLC registration is complete on your organization’s phone number (see Team & Phone Numbers setup)
- You have a published workflow that includes a Send Text action
- Contacts have opted in to receive text messages (Goliath honors “STOP” auto-unsubscribes and DNC lists)
Step-by-Step Guide
Section titled “Step-by-Step Guide”-
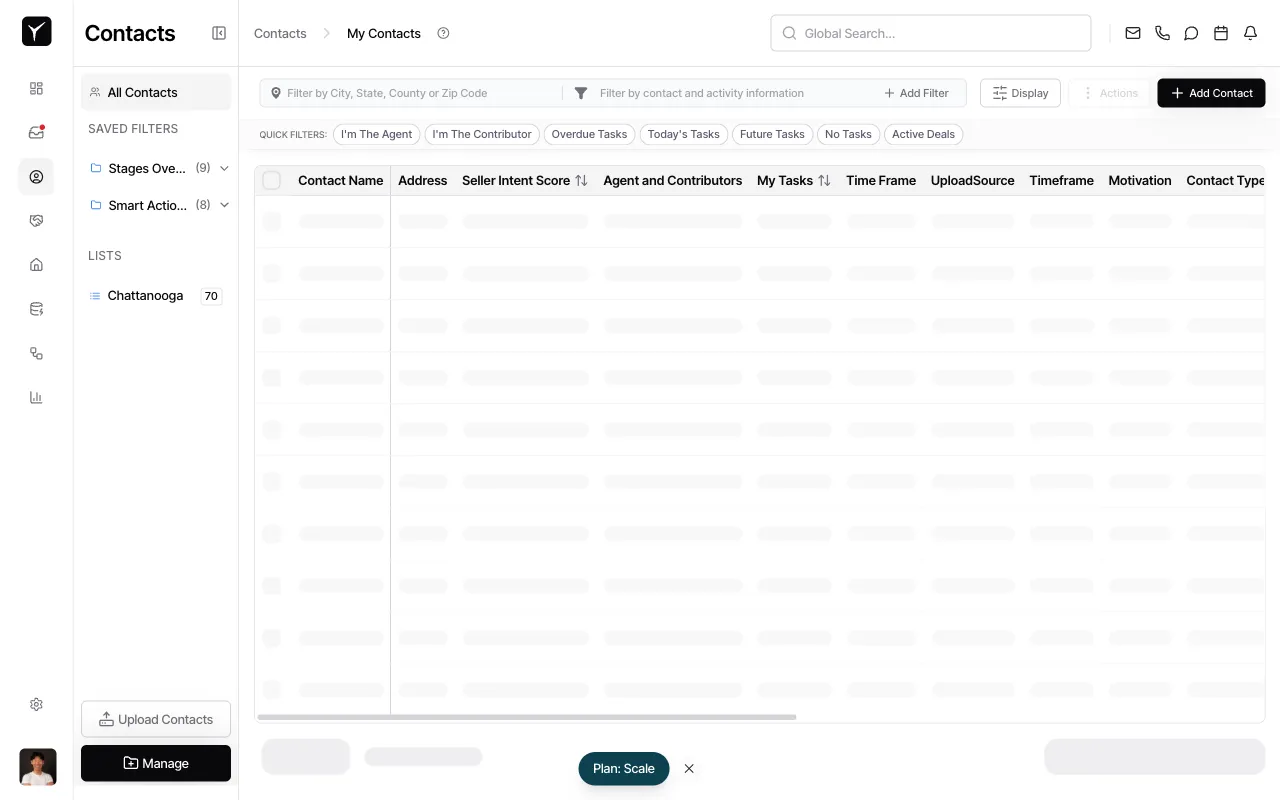
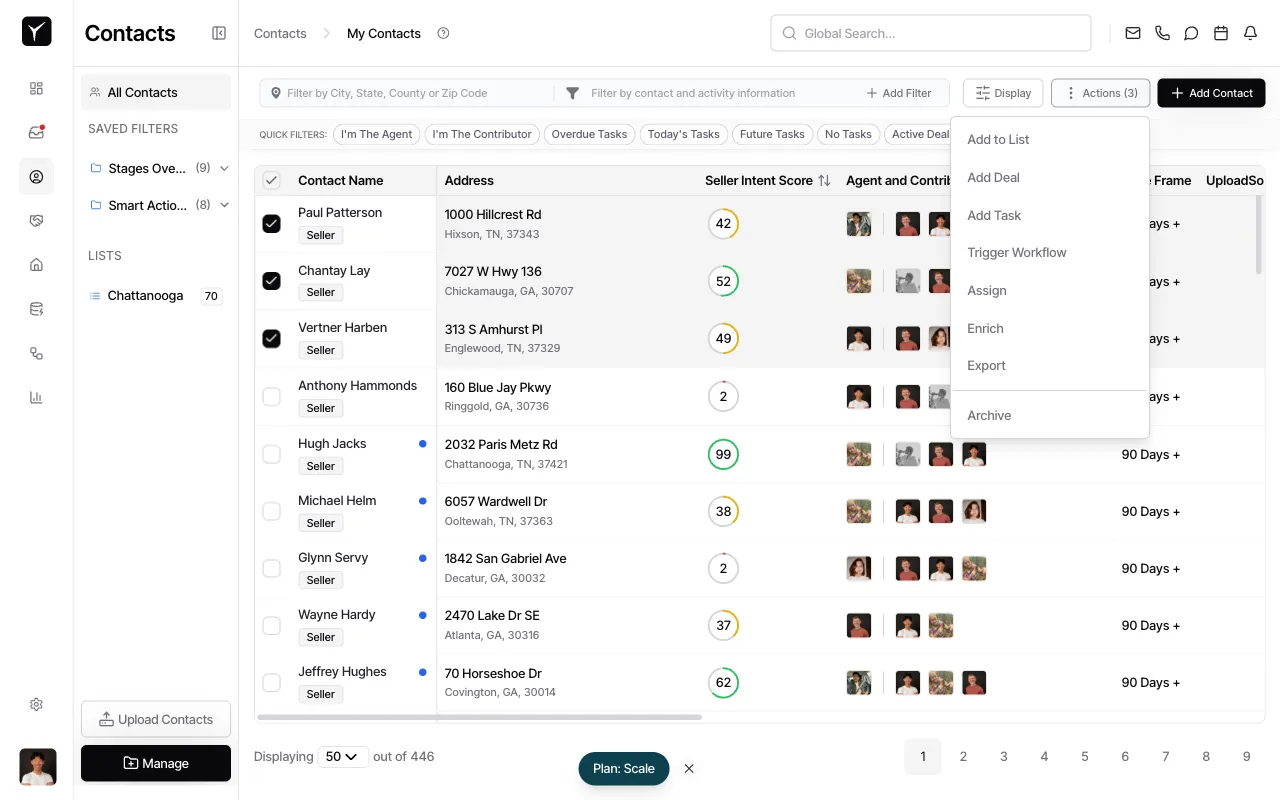
Navigate to your Contacts list
Open the Contacts module and select the view or filter that contains the contacts you want to text. You can use QUICK FILTERS (e.g., I’m The Agent, Active Deals) or apply custom filters via Filter by contact and activity information.
-
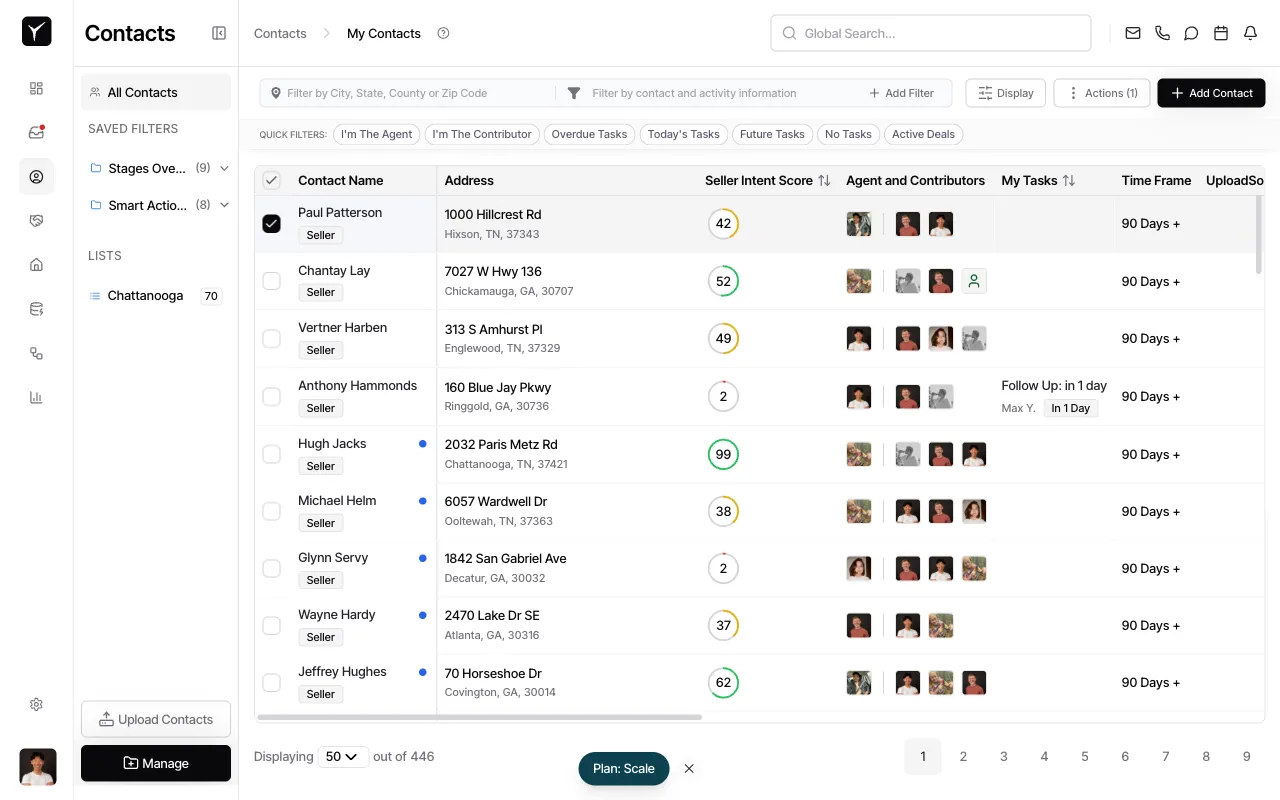
Select the contacts to receive the text
Click the checkbox next to each contact you want to include, or use the Toggle selection menu checkbox in the table header to select all contacts on the current page. The Actions button in the toolbar will update to show the number of selected contacts.
-
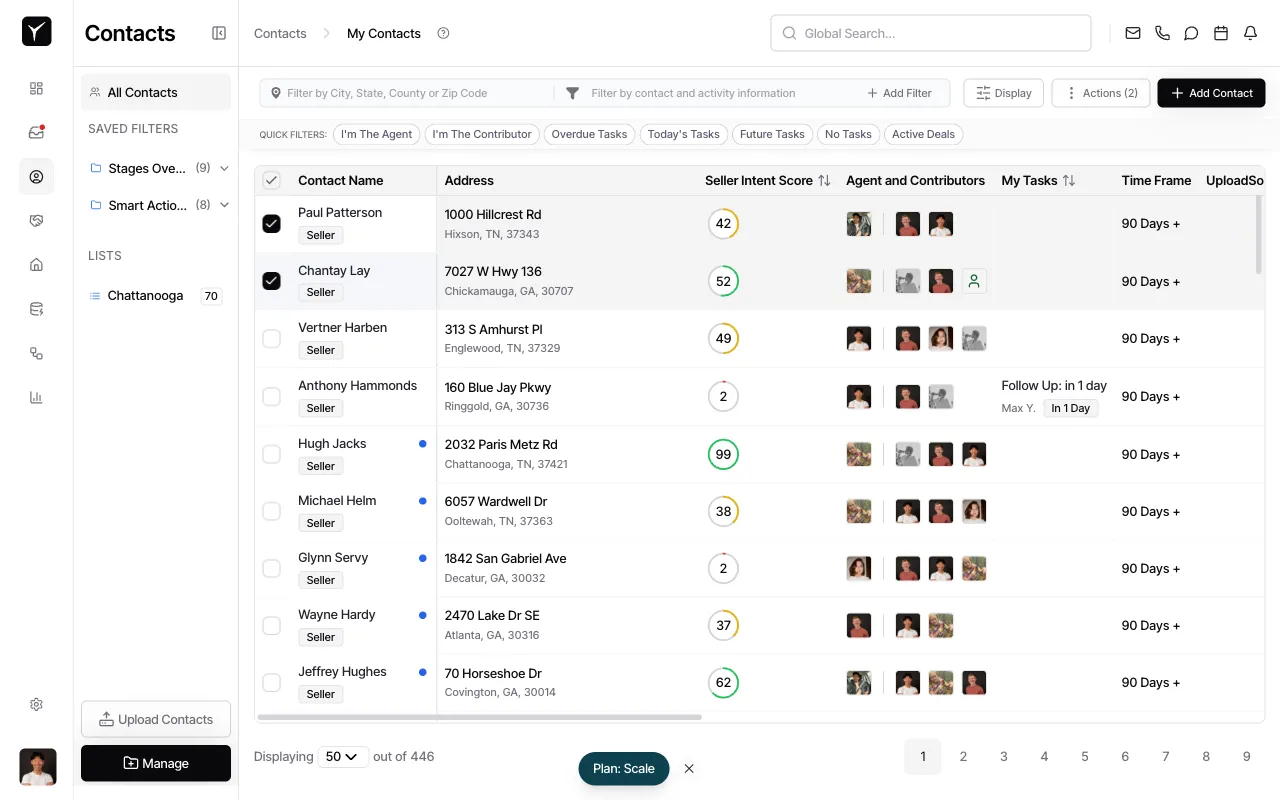
Continue selecting contacts if needed
If you want to text contacts across multiple pages, navigate to the next page and continue selecting. The Actions counter will increment as you add more contacts.
-
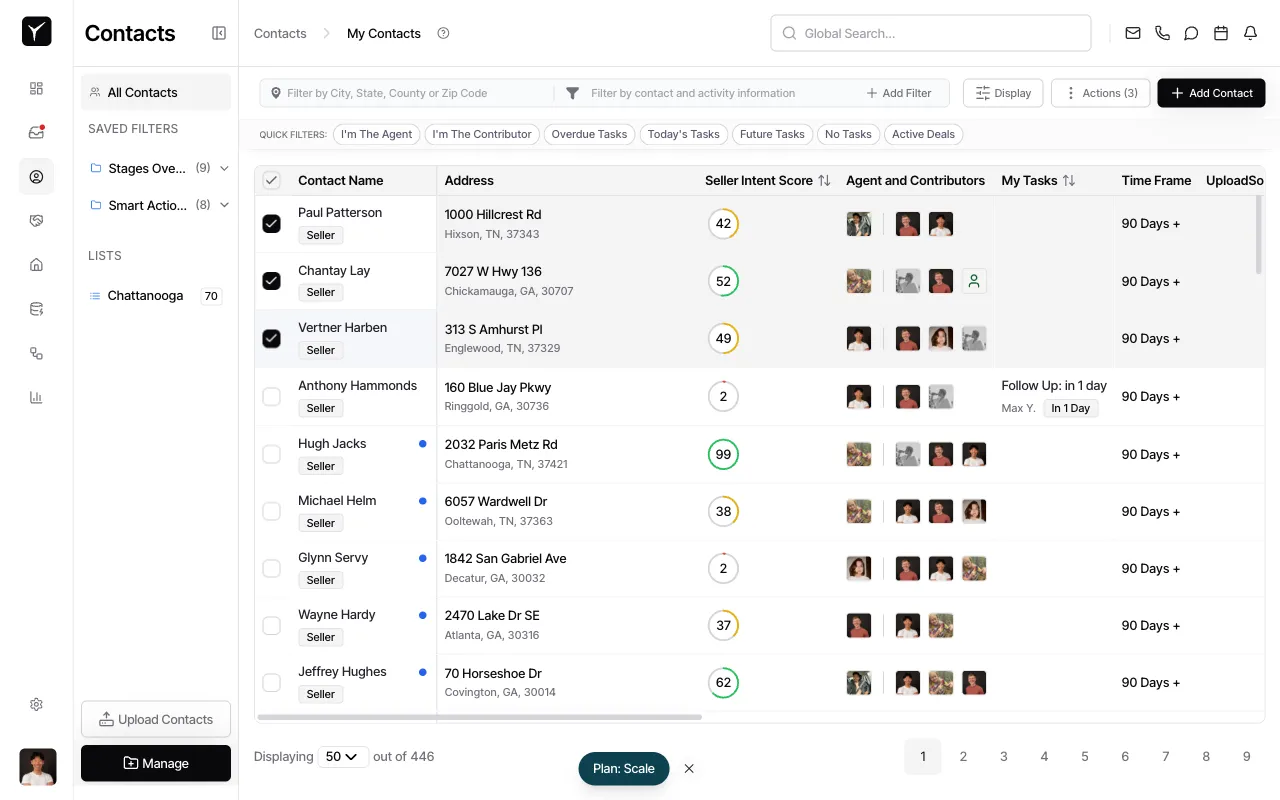
Finalize your selection
Once you’ve selected all target contacts, verify the count in the Actions button. You can remove individual contacts by unchecking them before proceeding.
-
Open the Actions menu
Click the Actions button (showing the number of selected contacts) to open the bulk actions menu. This menu includes options like Add to List, Add Deal, Trigger Workflow, and more.
-
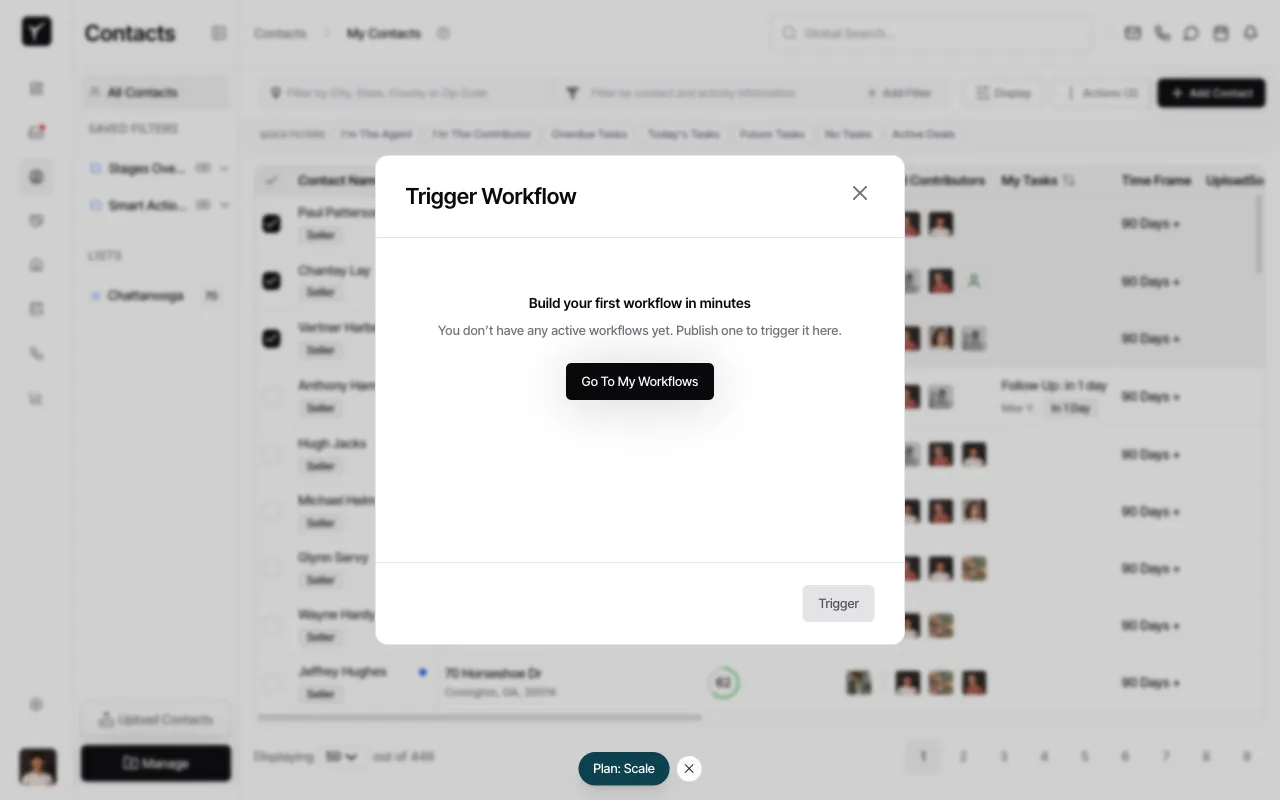
Trigger the workflow
Select Trigger Workflow from the menu. If you don’t have any active workflows yet, Goliath will prompt you to create one. Click Go To My Workflows to set up a workflow with a Send Text action, then return to this step.
-
Choose your text workflow and confirm
In the workflow picker (not shown in screenshots), select the workflow that contains your Send Text action. Review the recipient count and click Trigger to start the bulk send. Each selected contact will receive the workflow once, and the text message will be logged in their contact timeline.
Frequently Asked Questions
Section titled “Frequently Asked Questions”Q: How do I know who received the text?
Section titled “Q: How do I know who received the text?”Each sent message is logged in the recipient’s contact timeline under Last Communication. You can also view the workflow run history to see delivery status for each contact.
Q: Can I cancel a bulk text after I’ve triggered it?
Section titled “Q: Can I cancel a bulk text after I’ve triggered it?”Once triggered, the workflow runs for all selected contacts. If your workflow includes conditional branching (IF actions), you can use those as a kill switch, but by default there’s no “undo” button. Always double-check your selection and workflow before clicking Trigger.
Q: What happens if a contact’s phone number is invalid?
Section titled “Q: What happens if a contact’s phone number is invalid?”Failures are logged per-contact in the workflow run history. Invalid numbers, carrier blocks, and opt-out statuses will generate error logs that you can review in the workflow’s activity feed.
Q: How many contacts can I text at once?
Section titled “Q: How many contacts can I text at once?”Goliath supports large batches (hundreds or thousands of contacts), but your carrier (Twilio) enforces rate limits. If you’re sending to more than 1,000 contacts, consider adding a short delay in your workflow to throttle the send rate and avoid temporary blocks.
Q: Do I need a different workflow for every text campaign?
Section titled “Q: Do I need a different workflow for every text campaign?”Not necessarily — you can reuse the same workflow with different templates or content. However, creating separate workflows for different campaigns (e.g., “Follow-Up Sequence,” “Event Invitation”) makes it easier to track performance and compliance.