How Do I Create a Workflow?
Workflows automate repetitive tasks by combining a trigger (the event that starts the workflow) with one or more actions (what happens next). Use workflows to send welcome emails when a contact is created, follow up after a form submission, or move deals through stages automatically. Every workflow starts as a Draft and runs only after you publish it.
Step-by-Step Guide
Section titled “Step-by-Step Guide”-
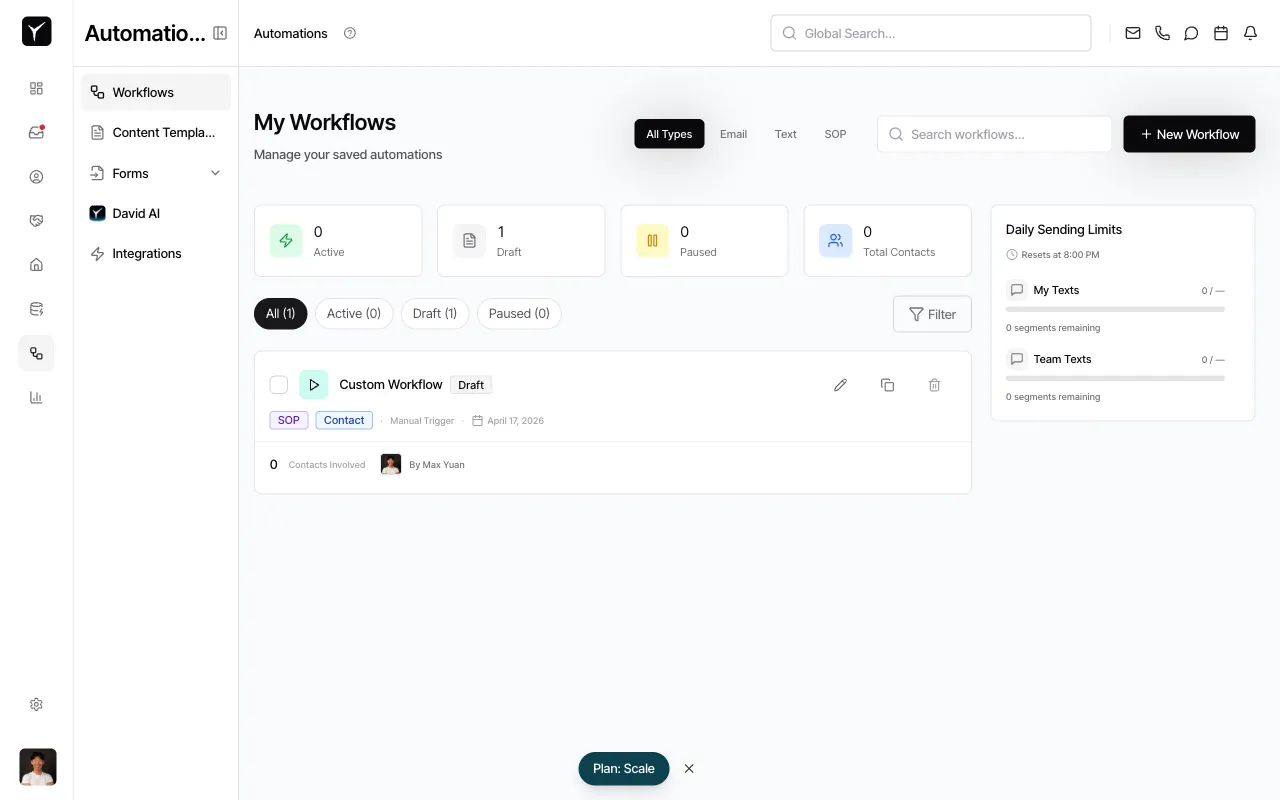
Navigate to the Workflows page
From the left sidebar, click Workflows under the Automations section. You’ll see your existing workflows organized by status: Active, Draft, and Paused.
-
Start a new workflow
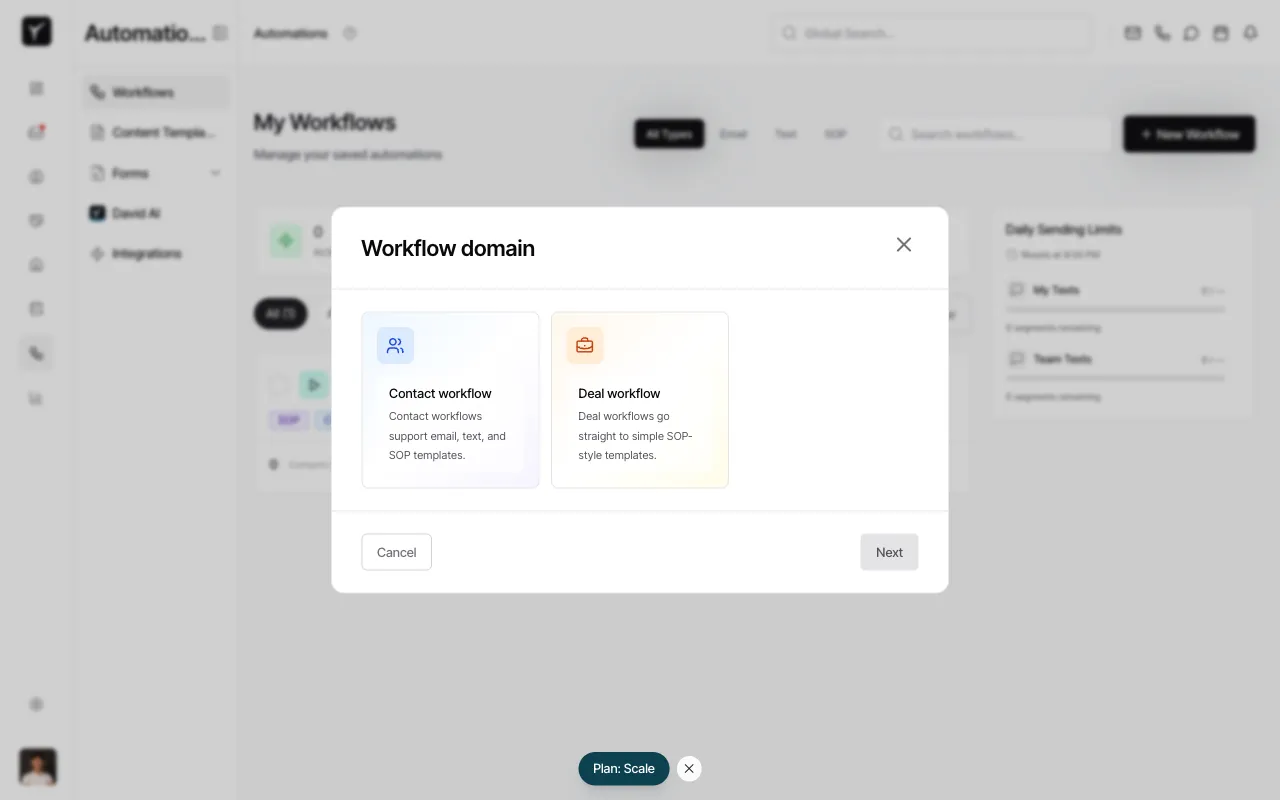
Click the + New Workflow button in the top-right corner. A dialog will appear asking you to choose a workflow domain.
-
Select a workflow domain
Choose between Contact workflow or Deal workflow:
- Contact workflow supports email, text, and SOP templates — ideal for lead nurturing, follow-ups, or onboarding sequences.
- Deal workflow uses simple SOP-style templates — best for task automation and deal progression logic.
Click Next to proceed to the workflow builder.
-
Configure the trigger
In the workflow builder, select the event that will start this workflow. Common triggers include:
- Contact Created — fires when a new contact enters Goliath
- Contact Added to List — fires when a contact joins a specific list
- Contact Tagged — fires when a tag is applied
- Deal Stage Changed — fires when a deal moves to a new stage
- Form Submitted — fires when someone completes a form
- Inbound Message Received — fires when a contact replies via email or text
- Property Signal Detected — fires based on property alerts (e.g., new listing, price drop)
- Scheduled Time — fires at a specific date and time
Choose the trigger that matches your automation goal.
-
Add your first action
After configuring the trigger, click Add Action to define what happens next. Common actions include:
- Send Email — deliver a templated email from Content Templates
- Send Text — send an SMS using a text template
- Create Task — generate a task for yourself or a team member
- Assign Task — assign an existing task to a user
- Change Deal Stage — move a deal to a new pipeline stage
- Add/Remove Tag — apply or remove a tag from the contact or deal
- Add to List — add the contact to a specific list
- Post to Slack — notify a Slack channel
- Call Webhook — send data to an external API
- Trigger Another Workflow — chain workflows together
Configure the action details (e.g., select an email template, choose a task assignee). You can add multiple actions in sequence.
-
Add delays or conditions (optional)
Between actions, click Add Delay to wait a set amount of time (e.g., 2 days, 1 week) before the next step runs. Click Add Condition to branch logic based on contact or deal properties (e.g., only continue if the contact has a specific tag).
-
Name and save your workflow
At the top of the builder, give your workflow a descriptive name (e.g., “Welcome Email Sequence”). Click Save as Draft to preserve your work. The workflow will appear in the Draft (1) tab on the Workflows page.
-
Test before publishing
Before activating the workflow, trigger it manually using a test contact (your own email or phone number). Watch the contact’s timeline to confirm the workflow fires correctly and actions execute as expected. This prevents unintended messages to real leads.
-
Publish the workflow
Once testing is complete, return to the Workflows page, locate your draft workflow, and click Edit workflow. In the builder, click Publish to activate the workflow. It will move to the Active tab and begin running automatically when the trigger condition is met.
Frequently Asked Questions
Section titled “Frequently Asked Questions”Q: Can I copy an existing workflow instead of starting from scratch?
Section titled “Q: Can I copy an existing workflow instead of starting from scratch?”Yes. From the Workflows page, click the three-dot menu next to any workflow and select Copy workflow. This creates a duplicate in Draft status that you can customize and publish separately.
Q: What happens if a workflow errors mid-run?
Section titled “Q: What happens if a workflow errors mid-run?”Each contact’s workflow run is independent. If one contact’s run fails (e.g., an email bounces or an API call times out), other contacts continue unaffected. You can review run history and errors in the workflow’s activity panel.
Q: Where can I see which workflows have run on a contact?
Section titled “Q: Where can I see which workflows have run on a contact?”Open the contact record and scroll to the timeline. Workflow actions (emails sent, tags applied, tasks created) appear as timeline events with the workflow name and timestamp.
Q: Can workflows trigger other workflows?
Section titled “Q: Can workflows trigger other workflows?”Yes. Use the Trigger Another Workflow action to chain workflows together. This is useful for complex sequences where one workflow qualifies a lead and hands off to a nurture campaign.
Q: Do I need to build email and SMS content inside the workflow builder?
Section titled “Q: Do I need to build email and SMS content inside the workflow builder?”No. Workflows reference Content Templates you create separately under the Content Templates menu. Build and organize your email and SMS templates first, then select them in your workflow actions. This keeps content reusable across multiple workflows.